Let me begin by saying–there is no perfect process or roadmap. Almost no task is a constant and consistent workflow. Everyone has their own preferences, and idiosyncratic ways of working–especially artists.
That being said, it can be helpful to photographers who are just starting out to hear from professionals about their ways of working, if even just to decide on your own how your process methods will differ. Remember, sometimes it’s not necessary to take the most efficient approach, try to enjoy your process!
Setting Up a Shoot & Deciding on Direction
Organizing a photo shoot is a process that isn’t necessarily the burden of the photographer. When you’re shooting for big brands, magazines and large productions, there is often a producer, a casting director, art director, etc.
Still, when starting out, or building your portfolio, you’ll likely be responsible for booking the space/deciding on a location, producing and organizing the day with your team and subjects.
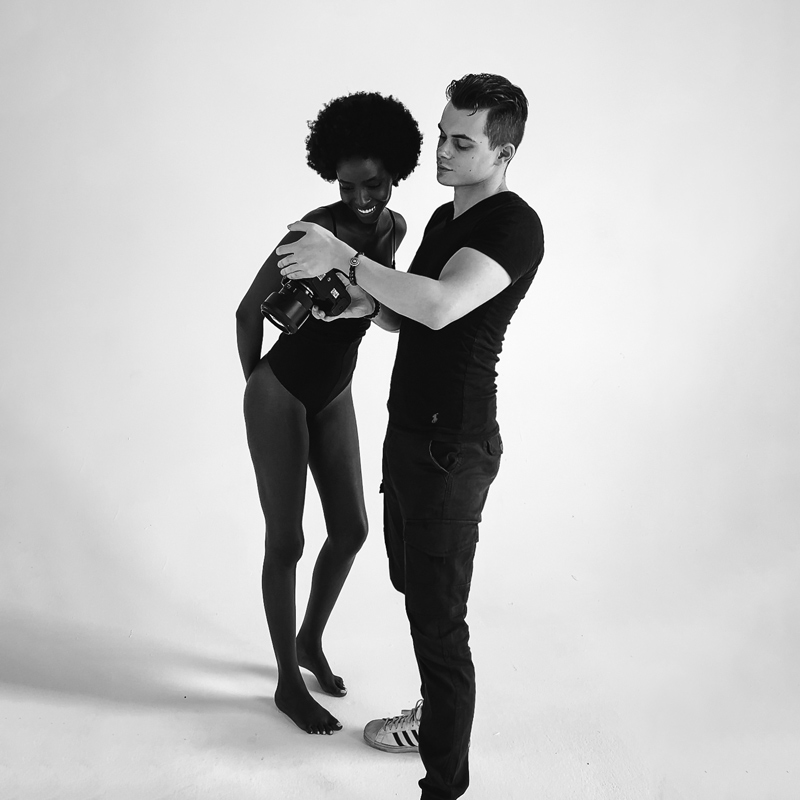
To give your model or client the best impression, make sure to have your details ironed out and let them know what to expect. In my own work, a great result is a product of preliminary discussions and planning, making use of shared moodboarding, and a clearly defined vision. Working with a good team, I ensure everyone has a specific role and that a positive atmosphere is created on set.
For aesthetic; many clients will come to you with a very clear vision already and your job is to execute that vision successfully. While this may not sound like creative freedom, remember that no creative professional gets to realize their full vision all the time and especially not photographers who are just starting out.
If you are a photographer with a very distinct style or you are highly acclaimed, chances are that people will come to you for your vision and style and a significant part of the creative direction will shift to you.
When it comes to my private portrait sessions, I often maintain creative control and will consult the client on the aesthetic, develop an idea representative of my style–one that I myself love. I might develop a mood board or use some of the ones I’ve already made (I have 40+!). Because I have a relatively distinct style, private clients will often give me their trust in the creative process and the final look. It’s key to ask about the purpose of the photos because if a restaurant chef needs a portrait for their website or a model needs a test for her book, I will not be taking pictures of either of them under a waterfall. Even with portraits, some clients need a very specific picture that might not involve my signature style.
If the photo shoot is outside, I know most of the locations in my city (Montreal) by now. Sometimes I will still do an online search for interesting places more specific to the client. Scouting in person takes hours and this time is a luxury that at this point I rarely have in my career, but if you’re just starting out, doing some preliminary legwork in your city for photogenic locations can save you time in the long-term. When booking studios, I have a list of my favorite ones where I have worked over the years. I recommend researching studios in your town online and maybe asking other photographers in your area for recommendations.

Gear Preparation
I usually pack the day before the shoot and all my gear goes into a Peak Design Everyday Backpack V2. It has many pockets for organizing lenses, and accessories, including some hidden ones, and the inner sections are adjustable and padded so I’m never worried about damaging my gear. It is also water resistant so the rain is not an issue for me. This backpack has been with me for years and it fits all 4 of my lenses, my camera and accessories like hard drives, batteries, cables, memory cards, my computer and other daily essentials (they aren’t sponsoring this, I just really like this backpack!). My hard drives and memory cards are always kept in protective cases.
In-Studio Preparation
If you’re starting out, or live in an expensive city like Montreal, chances are you’re renting a studio space for shoots. If the studio includes gear by request, you would simply add whatever you need to your rental like: lighting, stands, v flats, backdrops, etc. If the space is more of a basic offering, or doesn’t have what you need, rental is always an option! I personally would not recommend investing money into studio equipment like flashes unless you get a great deal. They usually are extremely expensive and that money could be better spent elsewhere in the beginning of your career.

The Post-Production Journey & Client Engagement
General rule–unless you are shooting film–always have your images in two places before you leave the set. I will usually carry an external hard drive with me where I backup all the photos that I took on the job or I’ll shoot on two memory cards simultaneously.
When I get home, I make sure I haven’t lost the files and everything is backed up.
Sometimes I’m eager to take a quick look at some images right away and I always do a pre-selection myself as I want the client to only see and have options from the best shots. Also, clients have neither the need nor the desire to look at hundreds or thousands of images. I will usually select top 50-100 shots from a portrait session and 100+ if it is a fashion photo shoot or a creative project of mine.
Selecting Images
Initial Culling: get rid of everything bad– the model’s eyes closed, awkward movement, image out of focus, and the shots that I know for sure will not make the final cut. I use Adobe Bridge for initial image selection (you can use whatever software you like that has options to mark images as selected, rated or rejected. Practically speaking, there is no difference).
I will go through all the shots one by one very quickly and mark/star the ones that are decent (at this point in my career my eyes are well-trained to quickly spot mistakes and bad shots). Then I will do round two of the same process just to make sure I removed enough . After this I will permanently erase everything that I did not mark.
I will then send the remaining shots to the client as low-resolution jpegs with a copyright watermark, I send them for proofing through client galleries available on my Format portfolio. I will disable download and turn on the option that allows the clients to favorite / mark images that they want. Often, I will have a zoom session with the client and screen share to discuss post-production, show some editing options and ideas to the client and get their approval. After the images are done and shown to the client some adjustments might be requested which, in most cases, I will happily do. Then the client receives an email with usage instructions and a google drive link where they can download the final photographs.
Build Your Portfolio With Format
Rated #1 online portfolio builder by photographers.
Editing
Getting Started
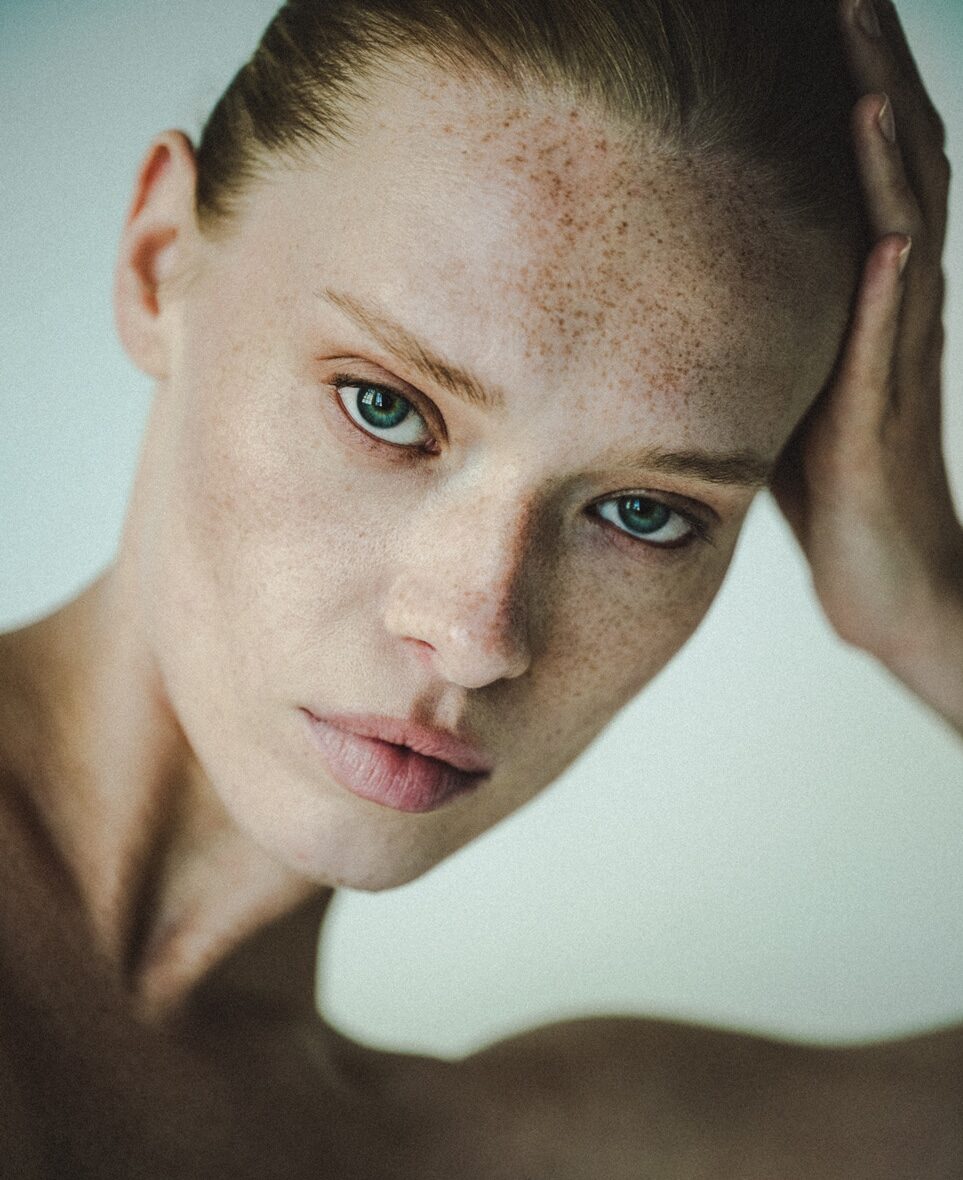
While teaching how skin and face retouching works in photoshop can be useful, it is mostly the same techniques like dodging and burning or frequency separation. Colour-grading on the other hand is a process that should be unique to you and varies heavily between images and artists. For that reason, I’m not divulging my exact process, because you’re going to find your own style. My advice is learn the basics on YouTube and continue experimenting.
Color
As for the structure of my process–after the final selections are made, they will be placed in either Lightroom or Capture One where I will start playing around. I have created over 100 presets and structured them into folders like: B&W Basic, B&W Film, Film, Colour Basic, Colour Vintage, etc. I will immediately try out different presets that I know fit my idea on an image and see what works best. Sometimes I will edit from scratch and save that as a preset for later use.This process of saving work I had previously done to apply to new work now saves me from repeating actions needlessly. I save so much time. Of course, I can’t just apply a preset and that’s it, all images are different and require additional adjustments. Once I have found the right preset, I will start tweaking the image, playing with colours, contrast, exposure, tone curve, etc. My advice to beginners is to devote some time to experimenting with the tone curve as it can enhance your images significantly. I will also often edit the same image twice by making a copy with slight variations and compare the two versions.
First Steps of Retouching
After the colour grading and lighting is done I will then transfer the image to photoshop as a PSD file (you can use TIFF, both file formats work) and do the skin and clothes retouching there. For work in photoshop I always use a Wacom tablet, it felt a little odd in the beginning to use a tablet in editing but after a week I got used to it and it saves me so much time, especially when dodging and burning. There is a reason all retouchers use these devices and the buttons there can also be programmed to specific commands and shortcuts.
At the very end I will add sharpness to the image and maybe grain if I haven’t added it before. Sharpness however is always at the end as I don’t want it to affect the skin too early. I also convert my files in photoshop to smart objects– often to preserve editing and change it later if required, I also keep multiple separate layers with different steps of editing. It’s a good idea to invest in a large capacity external hard drive as each image like that ends up being 500mg to 1gb +.
Note: As I said in the beginning, every photographer has their own unique process, the one described above is what I prefer, but it isn’t necessarily the right way to do it. A lot of photographers and retouchers highly recommend doing the skin and clothing retouching first and then working in Lightroom or Capture One on colour grading. You can make up your own mind on the order that works for you!
Outsourcing
Like many photographers, I also work with a retoucher and I outsource a lot of my work to him. When first starting out with my retoucher, I would send him detailed briefs on what I wanted to see with the images and specifically which areas to correct, but as you work with people, you begin to develop a shorthand, and they will come to understand your style and what you’re looking to achieve. I’ve been working with my retoucher for over three years, so our process has become a lot more streamlined and loose, we can just exchange texts, I can now say “Danil, just do this one like the image from last week” and that’s all that has to be said. When you get to a stage in your career where you can outsource work that’s a bit more tedious and repetitive, do it, but look for someone you can synchronize with well.
My retoucher only works on skin and clothing. I will almost never allow the retoucher to do the colour grading, black and white, etc. which is more subjective and creative, I have an exact vision that would be difficult for me to describe. The detail retouching in photoshop is the most time-consuming and least creative part, and the process I enjoy the least, unlike editing in Lightroom or Capture one, which I love. After the retoucher completes the images he will send them for approval, I may request a few extra corrections or adjustments in specific areas but that’s it!
Archiving and File Management
Here is my typical file structure for photo shoots.

I start with years first then by the type of jobs / shoots–ie: Commercial, Editorial, Model Tests, Portrait Sessions and Travel. Each file name will be formatted in this convention: Year/Month/Date then name of the project/and/or the name and family name of the client.
Each file will then have the following sections:
Backup – Where I keep the images that didn’t make the final cut but are still nice. As I mentioned previously, I usually keep 50-100 +- images after the pre-selection is done. This is where they stay in case I ever need to come back to this shoot. All other sections will contain the final selection only.
BTS (Behind the Scenes) – This section has behind the scenes videos and photos from the photo shoot that were taken on a phone by me or someone else on set.
Documents – Here I keep contracts, model releases, wardrobe list and other related documents.
Instagram – Low resolution files that I crop 4×5 to fit the Instagram grid. Method of saving in photoshop: – File -> Save for web → Image Size–usually 2500px on the longest edge → Quality 100 (other settings you can see on the screenshot) These files are made for convenience, so I can easily pre-plan and post on Instagram. If you upload a lower resolution file Instagram will presumably mess less with its quality unlike if I upload a 30mb image.
JPG – High resolution JPGs saved at maximum quality. File →Save as → Choose file format → Quality 12 (Maximum)
PSD – PSD files with all the layers and editing so I can always play around with them later, convert to a different file format, save for different purposes in different settings.
RAW – Raw unedited images that made the final cut.
WEB – Low resolution jpegs that I use to upload on my Format website. The problem is that if you upload high resolution files, opening your gallery and loading everything will take a long time on the web.
The way I save and prepare these: I follow the instructions provided by Format.
Archiving and Backing Up
I have multiple SSD hard drives that I work on and to which I backup the images temporarily. After the work is done I will back everything up to my main external hard drive that is 8TB and contains all my current and past photo shoots. This is also where I store important files like presets, Wacom tablet settings, Mood boards, Contracts, etc. I also have Google Drive cloud storage where I keep all the same things so that way everything is at least in two places. My plan down the line is to invest in a large capacity RAID system where hard drives will always mirror each other so there are two copies of everything.
Advice to Photographers Starting Out
As a photographer, I’ve been learning from other photographers since the start of my career, I hope in turn you’ve found it helpful to learn about my process. Just remember, there’s no perfect workflow, there’s only the one that works for you.
Contributor
-

Alexander Karlov is an international fashion and portrait photographer based between Canada and Europe. In his work, he aims to bridge the gap between art and commerce, creating stunning shots that tell a story and representing his clients in a meaningful way while encouraging authenticity and vulnerability in his subjects. His style is characterized by a minimalistic and vintage film-like appearance with high contrast and a strong preference for natural lighting
He draws inspiration from classic films, iconic fashion magazines, and the works of legendary photographers like: Richard Avedon, Steven Meisel, Peter Lindberg, Mario Sorrenti, Paolo Roversi who had a great influence on his signature style.
To empower people, present human beauty, tell visual stories and have a touch of the sublime–those are the goals of his artistic journey.